CNC Machining Guide for Mold Cavities
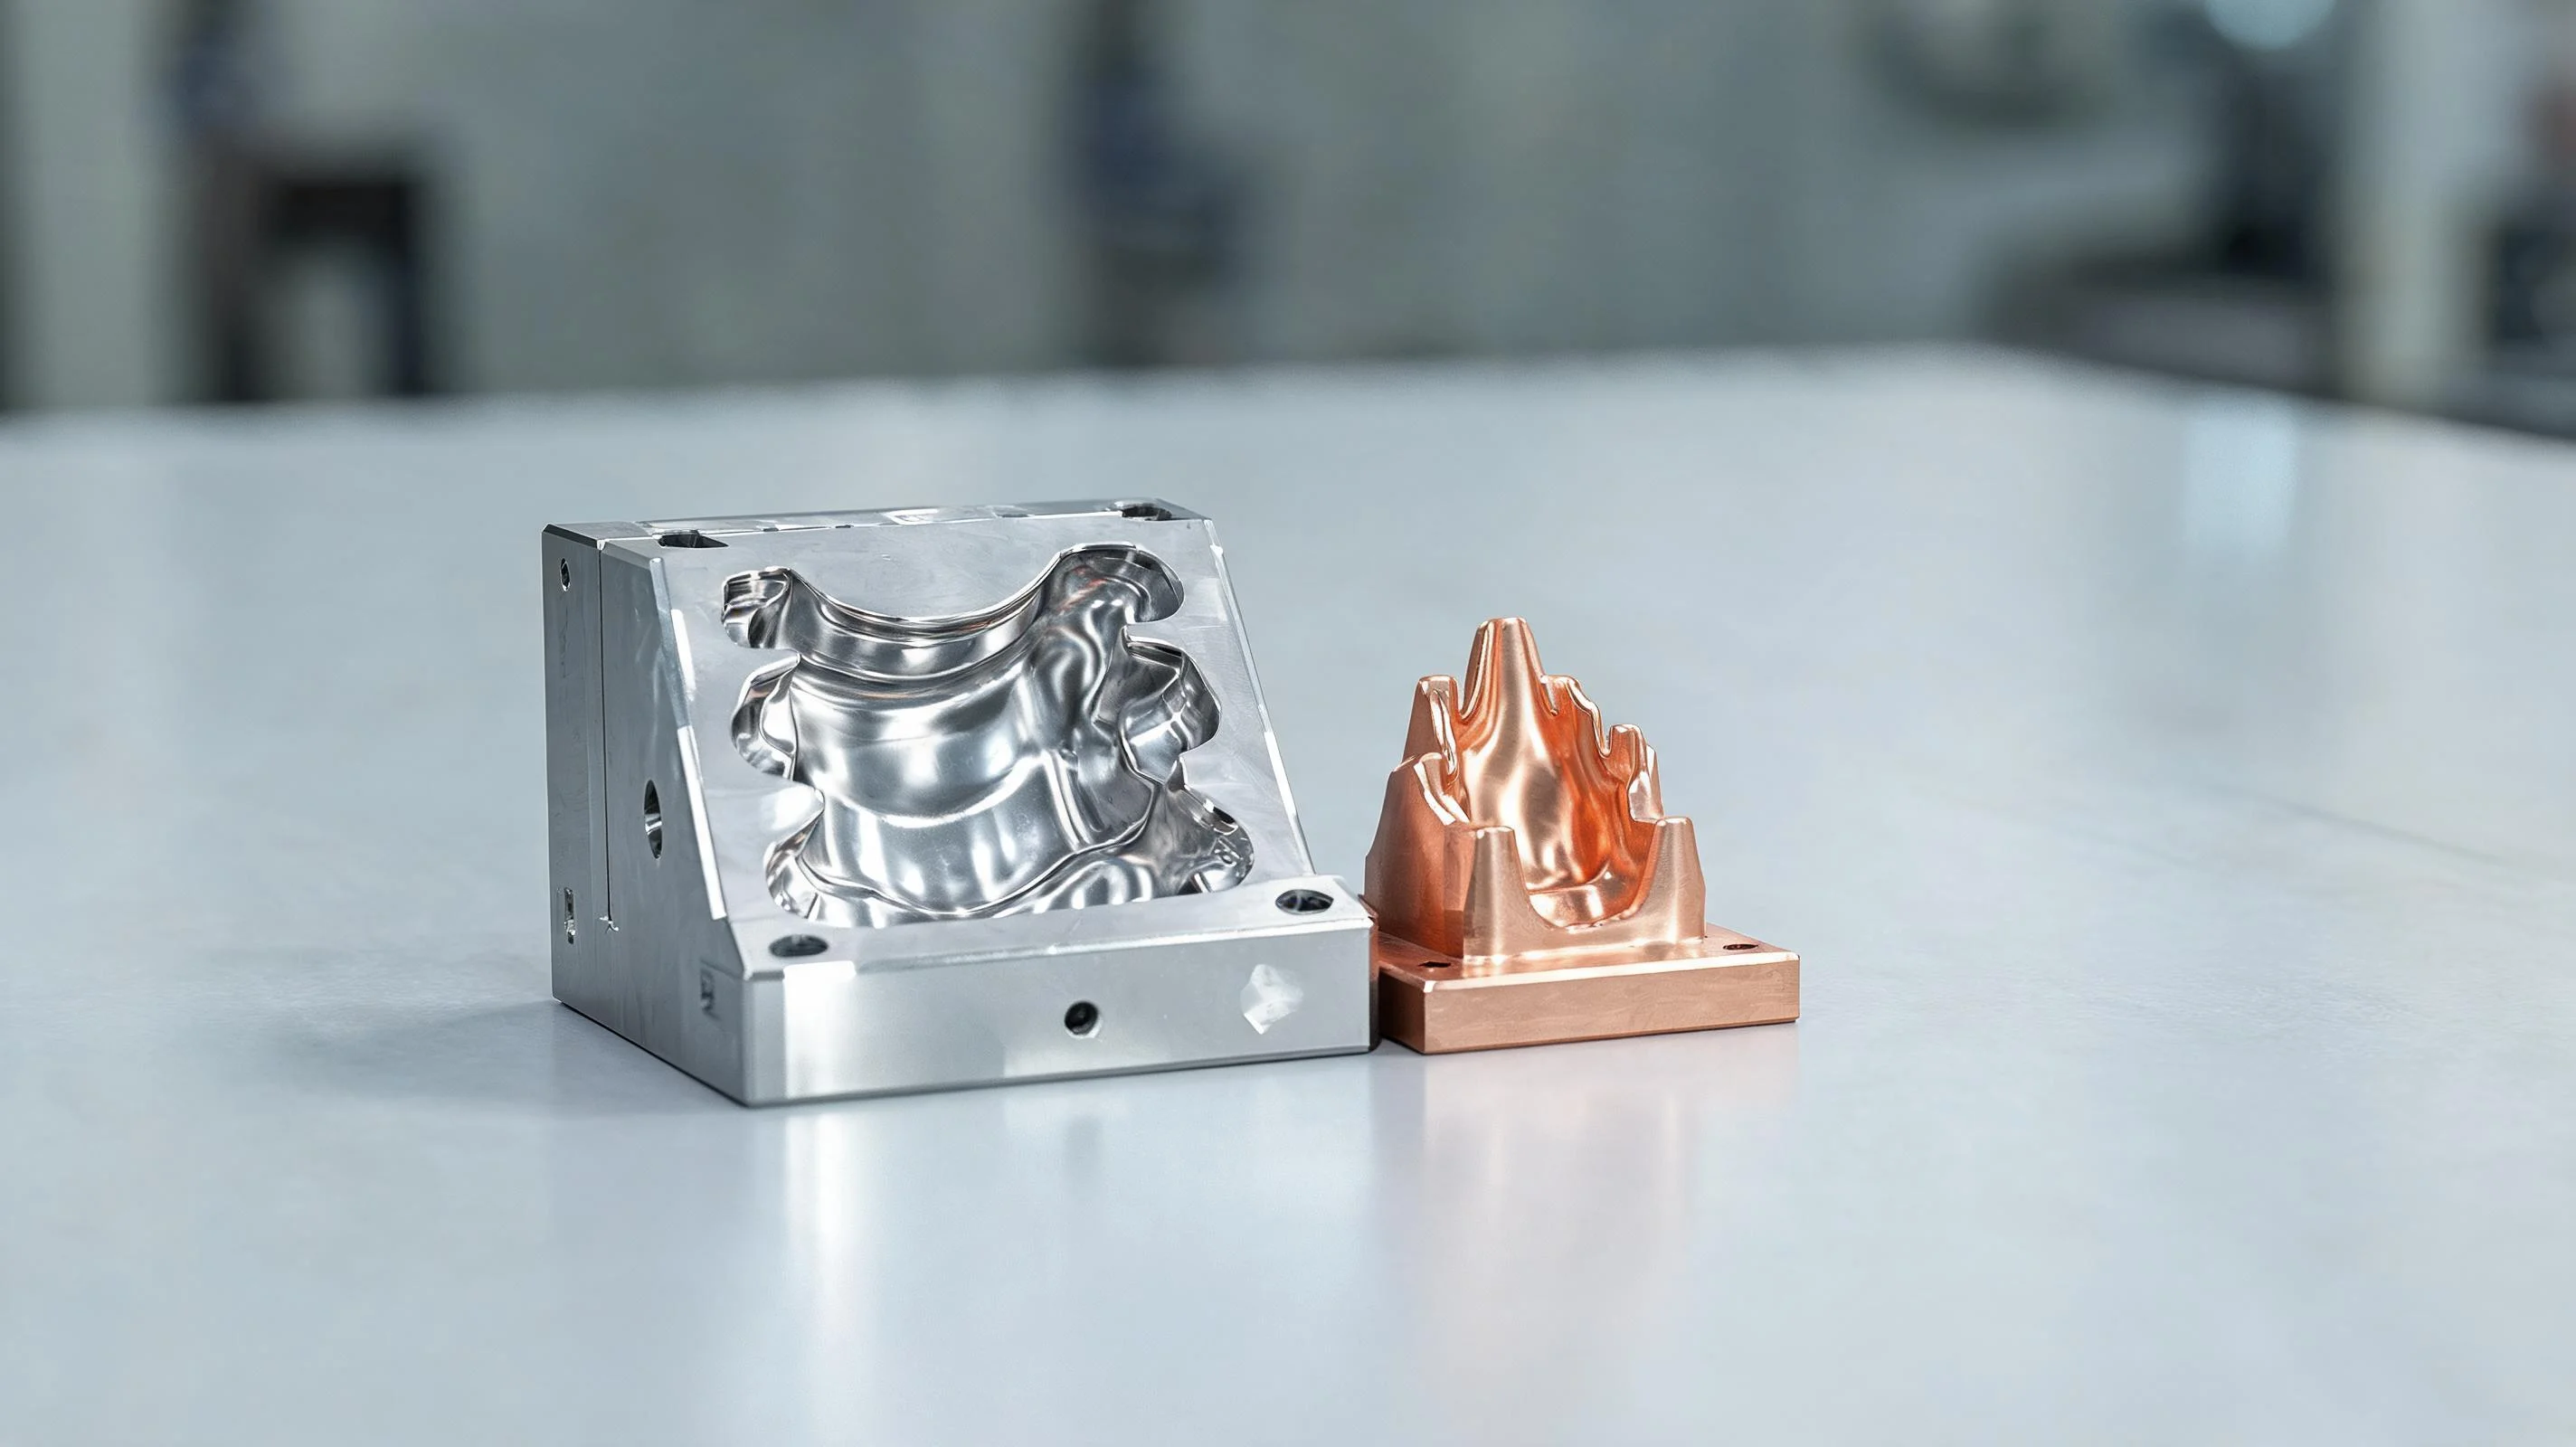
A mold cavity is where a machine shop proves its craft. The cavity has to reproduce the exact shape the designer intended, hold a finish that parts cleanly, and stay true across the whole life of the tool. Often the same shop also machines the copper electrode that burns the cavity in an EDM sinker. This guide covers how to machine mold cavities and electrodes, the tooling that works, and the machines that fit the job.

What Mold Machining Involves
A mold cavity is a complex three-dimensional form. It can be machined directly, or it can be cut as an electrode and then burned into the steel by EDM. Most cavity work is done in hardened tool steel such as P20, H13 or NAK80, or in stainless where corrosion matters. The parts are made from a solid block, so the whole job is about removing material while keeping the form and the finish.
The demands are always the same: a consistent surface finish, a cavity that matches the design, and detail that holds deep in the form. A mold that does not match the print is scrap, so the process has to be repeatable from the first electrode to the last.
Choosing a Machine for Mold Work
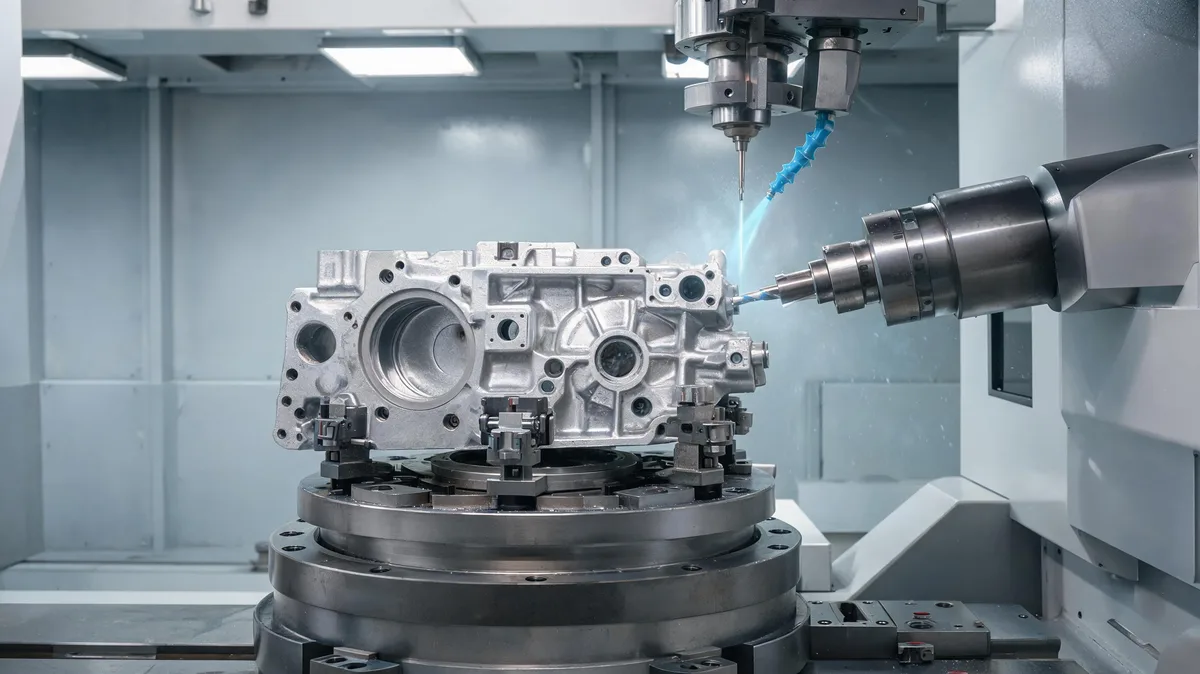
Mold work is best done on a machine that is rigid enough to take a cut without chatter and repeatable enough to hold a fine finish. A Handemo VMC1370D is tuned for mold finishing, with the stiffness and spindle control that a cavity needs. For a smaller cavity, a VMC1160 handles the work with the same repeatability.
The spindle is the part that matters most. A spindle that runs smoothly at the speeds a small cutter needs is what lets you take a light finishing pass without marking the surface. The machine structure has to be stiff as well, because a light cut mostly removes the spring in the machine if the frame is not rigid.
Tooling for Cavity Machining
The tools for a mold cavity are usually ball nose end mills, in a range of sizes. A large tool roughs the cavity fast, then progressively smaller tools carry the detail. As the cavity gets deeper, the tool gets longer, and a long tool is less rigid. This is where finish problems usually start.
We use a short, sharp cutter wherever the shape allows, and we step over by a small amount so the scallop left between passes is minimal. A worn ball nose will show as a dull band on the surface, so we replace the tool before it loses its edge. For a fine finish we may take a final pass with a very light cut and a slow feed.
The Machining Passes
The usual sequence is roughing, semi-finishing and finishing. Roughing removes most of the material with a large tool and a heavy cut. Semi-finishing leaves a small, even allowance for the finishing tool. Finishing takes the tool over the surface with a consistent stepover to produce the final form and finish.
Each pass has a purpose. If you skip semi-finishing and go straight from rough to finish, the finishing tool sees an uneven allowance and the finish suffers. By keeping the allowance even, the finish is even.
Electrode Machining
When a cavity is burned by EDM, the shop machines a copper electrode to the inverse shape. The electrode has to match the cavity precisely, because any error in the electrode shows up in the burn. Copper is soft and easy to cut, but it wears tools and burrs easily.
We machine the electrode with sharp cutters and light finishing passes. The electrode needs the same care as the cavity itself, because it is the master that defines the final part. A fine electrode is a good test of a machine's ability to hold detail.
Materials and How They Cut
The material sets how the cutter behaves. P20 is a pre-hardened steel that machines well and is a common choice for production molds. H13 is a hot-work steel that holds up at temperature and is used for die casting. NAK80 is a pre-hardened steel that takes a good polish and is used for optical parts and fine details. Stainless resists corrosion but is more abrasive, so it wants a coated tool and a steady feed.
For copper electrodes, the material is soft but it burrs. We use a sharp tool and a light cut to keep the edge clean. The feed and speed are tuned to the material rather than to the job as a whole.
Avoiding Common Mold Problems
The problems in mold machining are predictable. Chatter shows up when the setup is too light or the tool is too long. A poor finish comes from a worn tool or an uneven allowance. Dimensional drift comes from a machine that is not thermally stable or a part that moves in the fixture.
The fix is usually the same: keep the setup rigid, use a sharp tool, keep the allowance even, and let the machine run at an even temperature. When these are in place, cavity work is repeatable.
Coolant and Chip Control
Coolant does two jobs in a cavity: it keeps the tool cool and it clears chips. In a deep cavity, chip clearing is the harder task. If chips pool in the bottom of the form they can be re-cut, which marks the surface and wears the tool.
We aim the coolant to sweep the chips out of the form, and we may use air on a finishing pass where a light cut leaves few chips. Keeping the cavity clear is part of keeping the finish clean.
Thinking About Your Mold Work
If you machine cavities, electrodes or other tool and die work, the machine choice comes down to stiffness and repeatability more than speed. A machine that holds a fine finish across a run, and a spindle that handles the small tools a mold needs, will serve you well.
We are happy to talk through the mold and tool work you run and suggest a machine that fits it. Reach out through the contact form below and we will come back with options.